Baking the ultimate homemade brownie is an exact exercise in culinary thermodynamics. Rather than relying on commercial emulsifiers or boxed mixes, mastering the interplay between fat dispersion, sugar crystallization, and moisture evaporation creates that elusive bakery-style profile: paper-thin crackly tops, chewy dense corners, and an ultra-fudgy, molten center.
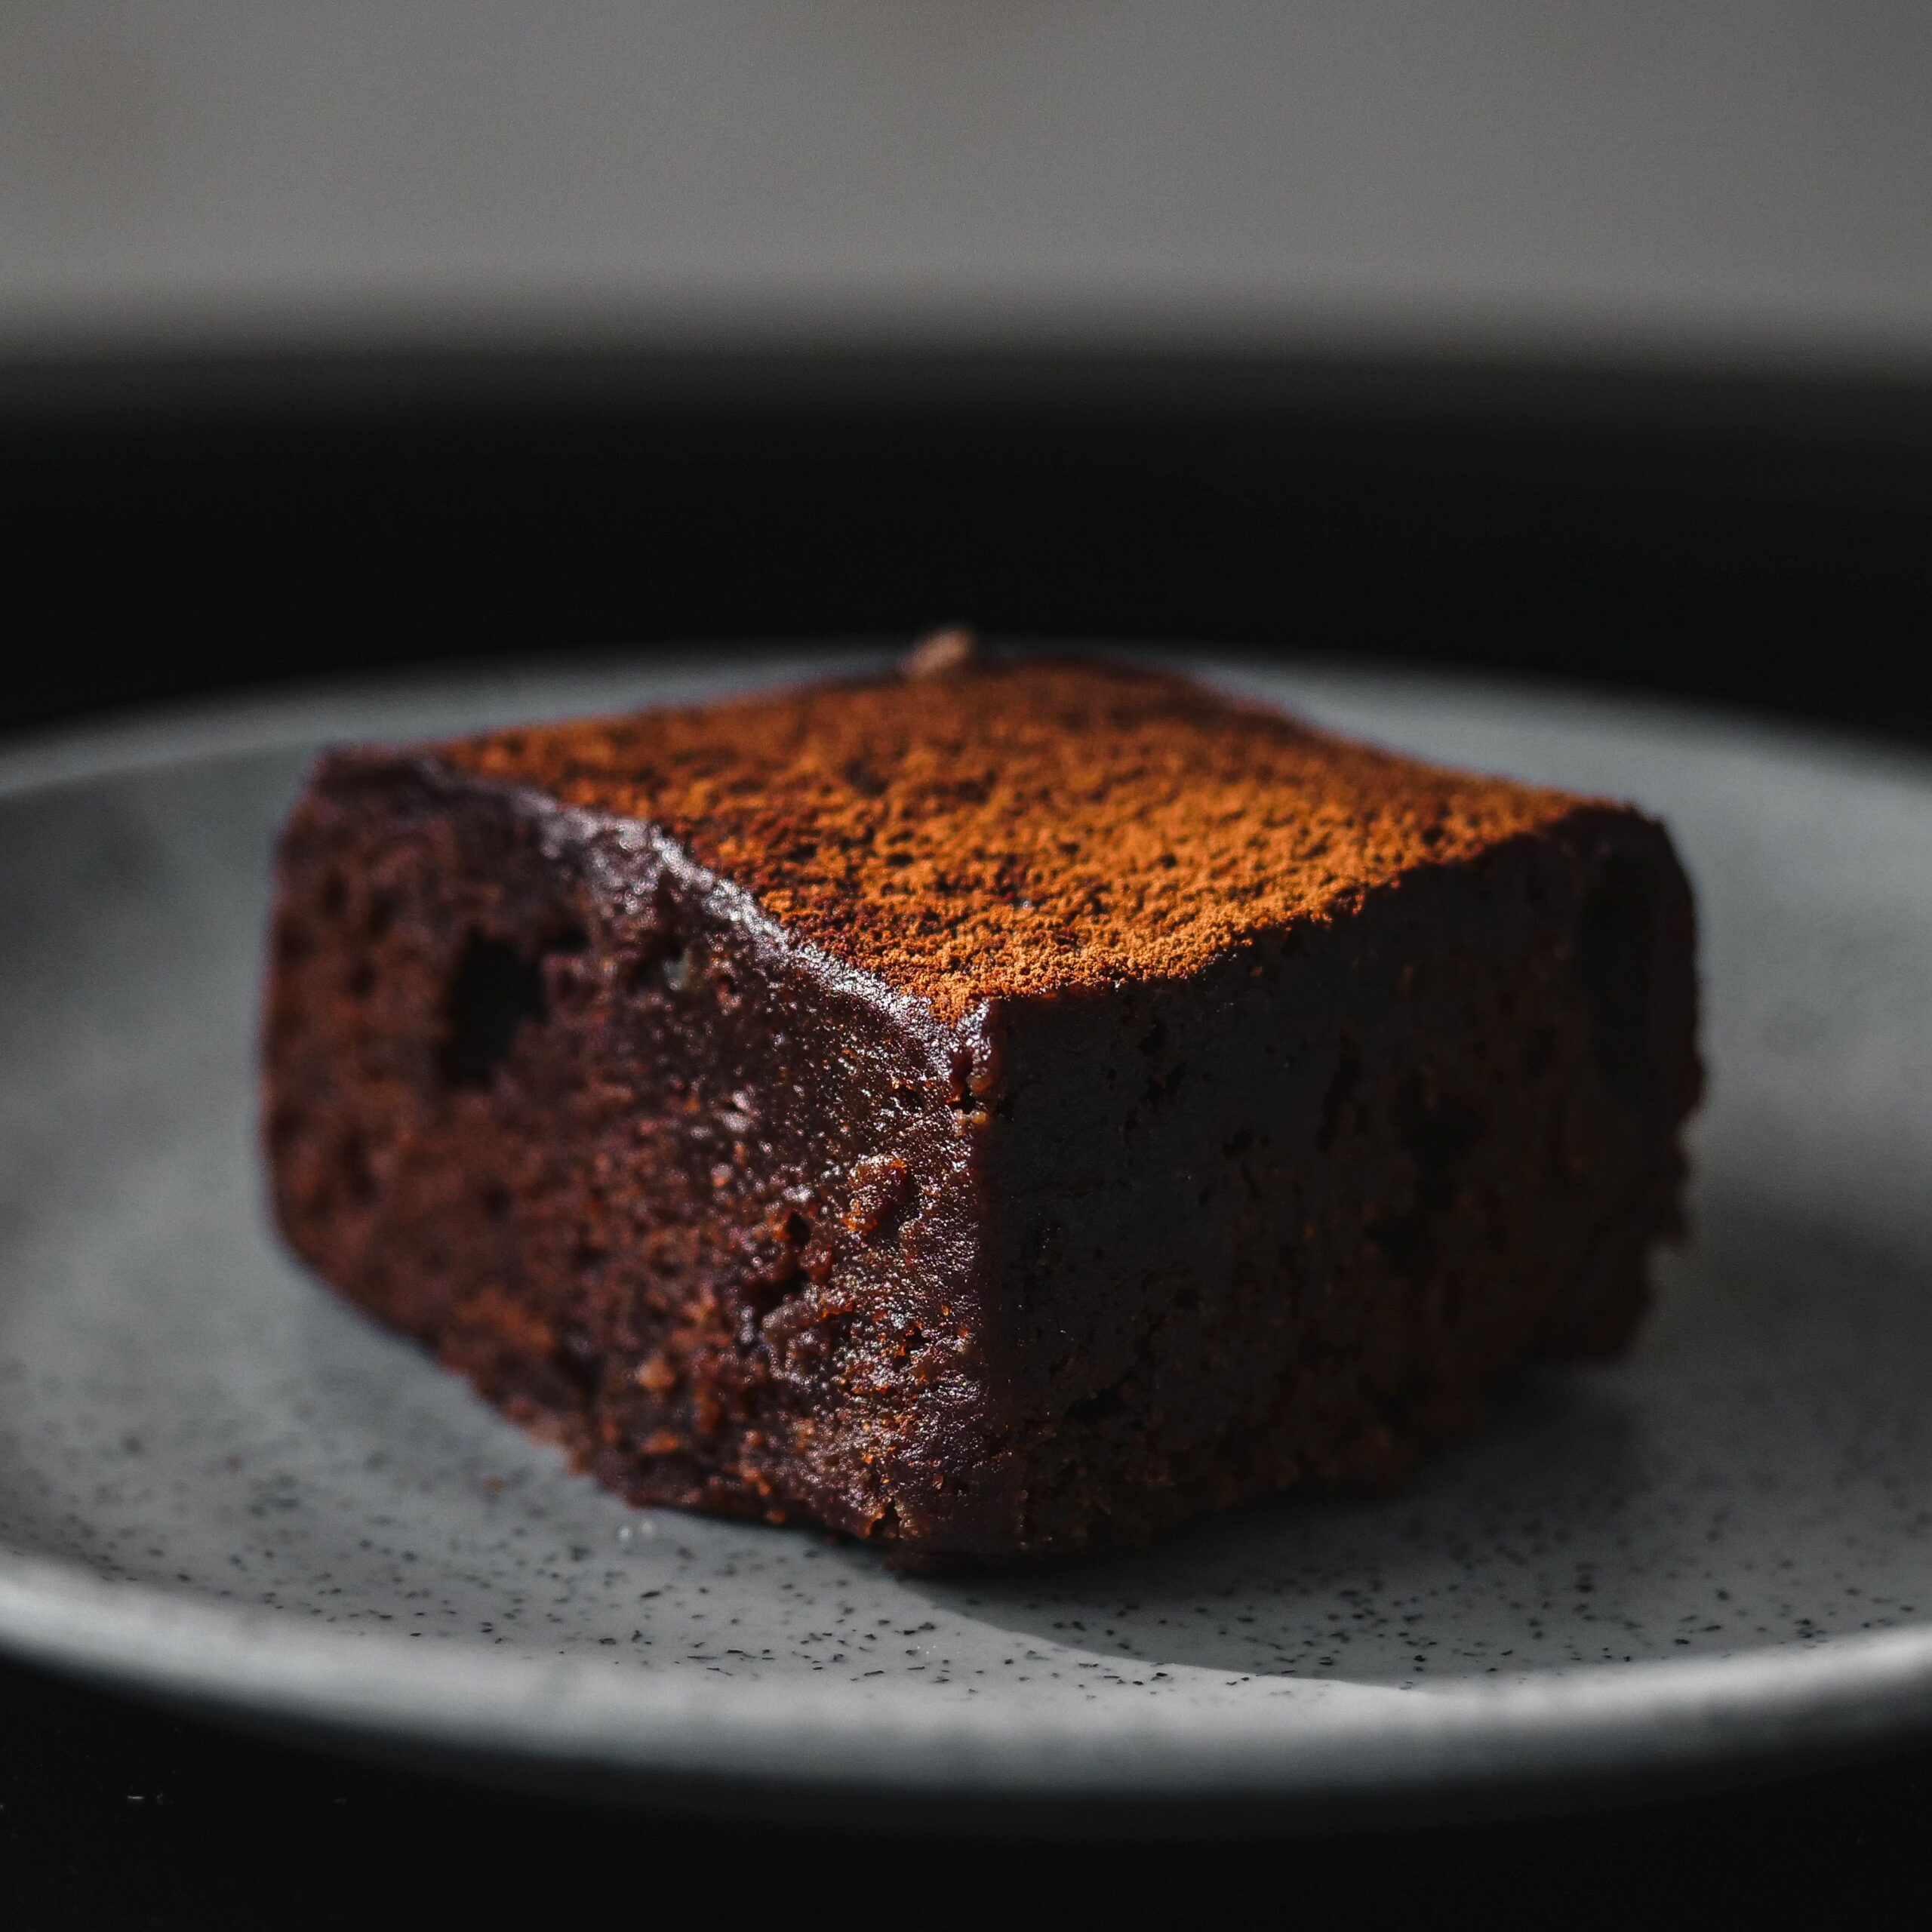
The Physics of Fudginess: Why Ratios Matter
Unlike chocolate cakes which depend on trapped air bubbles and gluten webs for leavening, authentic fudgy brownies thrive on the near-total inhibition of gluten networks. This texture is achieved through three non-negotiable chemical parameters:
- The Fat-to-Flour Threshold: Using a high ratio of lipid weight (butter and cacao butter) relative to starch minimizes starch gelatinization, preventing spongy crumb structures.
- Complete Omission of Chemical Leaveners: Omitting baking powder or baking soda ensures that no carbon dioxide pockets disrupt the velvety, dense crumb matrix.
- The Micro-Thin Meringue Crust: That coveted papery top is formed during baking as dissolved sucrose and egg albumins migrate upwards, drying into a thin, glossy crust.
Ingredients & Functional Chemistry
| Ingredient | Precise Quantity | Culinary Function |
|---|---|---|
| Unsalted European Butter | 1/2 cup (115g) | Provides 82% butterfat for rich mouthfeel and moisture retention. |
| Bittersweet Chocolate (70%) | 4 oz (115g), finely chopped | Delivers real cocoa butter and deep, non-alkalized cocoa solids. |
| Granulated Cane Sugar | 3/4 cup (150g) | Dissolves in egg albumins to form the signature glossy crinkled surface. |
| Dark Brown Sugar | 1/4 cup (50g), packed | Supplies molasses for moisture retention, chewiness, and caramel depth. |
| Whole Eggs (Room Temp) | 2 large eggs | Lecithin naturally emulsifies chocolate fats while albumins set the matrix. |
| Dutch-Processed Cocoa Powder | 1/4 cup (25g) | Alkalized cocoa with smooth acidity and concentrated chocolate aroma. |
| All-Purpose Flour (10% Protein) | 1/2 cup (65g) | Minimal gluten formation to bind structure without cakey dryness. |
| Fine Flaky Sea Salt | 1/2 tsp | Suppresses bitter tones and highlights rich roasted cocoa flavor. |
| Pure Bourbon Vanilla Extract | 1 tsp | Aromatic enhancer that rounds out sweet dairy and chocolate undertones. |
Step-by-Step Instructions
Step 1: Pan Preparation and Oven Calibration
Preheat your oven to 350°F (175°C). Line an 8×8-inch metal baking pan with parchment paper, leaving generous 2-inch overhangs on opposite sides to serve as lifters later. Metal conductively transfers heat quickly, preventing gummy soggy bottoms and unevenly scorched rims.
Step 2: Gentle Lipid Melting
In a heatproof bowl set over a gentle water bath (bain-marie) or at 30-second low bursts in the microwave, melt the chopped bittersweet chocolate and unsalted butter together. Stir constantly until smooth and glossy. Remove from heat and allow to cool to lukewarm (approx. 105°F / 40°C).
Step 3: The Ribbon Emulsion Stage
In a separate large bowl, combine the granulated sugar, dark brown sugar, whole eggs, and pure vanilla extract. Whisk vigorously by hand for 3 full minutes (or 90 seconds with an electric mixer) until the batter turns pale beige, glossy, and falls off the whisk in thick ribbon patterns. Slowly stream in the lukewarm melted chocolate mixture while continuing to whisk gently.
Step 4: Minimal Starch Folding
Sift the all-purpose flour, Dutch-processed cocoa powder, and fine sea salt directly over the wet batter. Using a flexible silicone spatula, fold gently in a sweeping circular motion from the bottom edge upward. Stop folding the second the last speck of dry flour vanishes.
Step 5: The Bake and Pan-Tap
Pour the glossy batter into your prepared pan and smooth the top with your spatula. Bake at 350°F (175°C) for 22 to 25 minutes. At minute 15, lift the baking pan two inches above the oven rack and gently drop it flat; this pan-rapping releases trapped air pockets and consolidates fudginess.
Step 6: Controlled Cooling and Clean Slicing
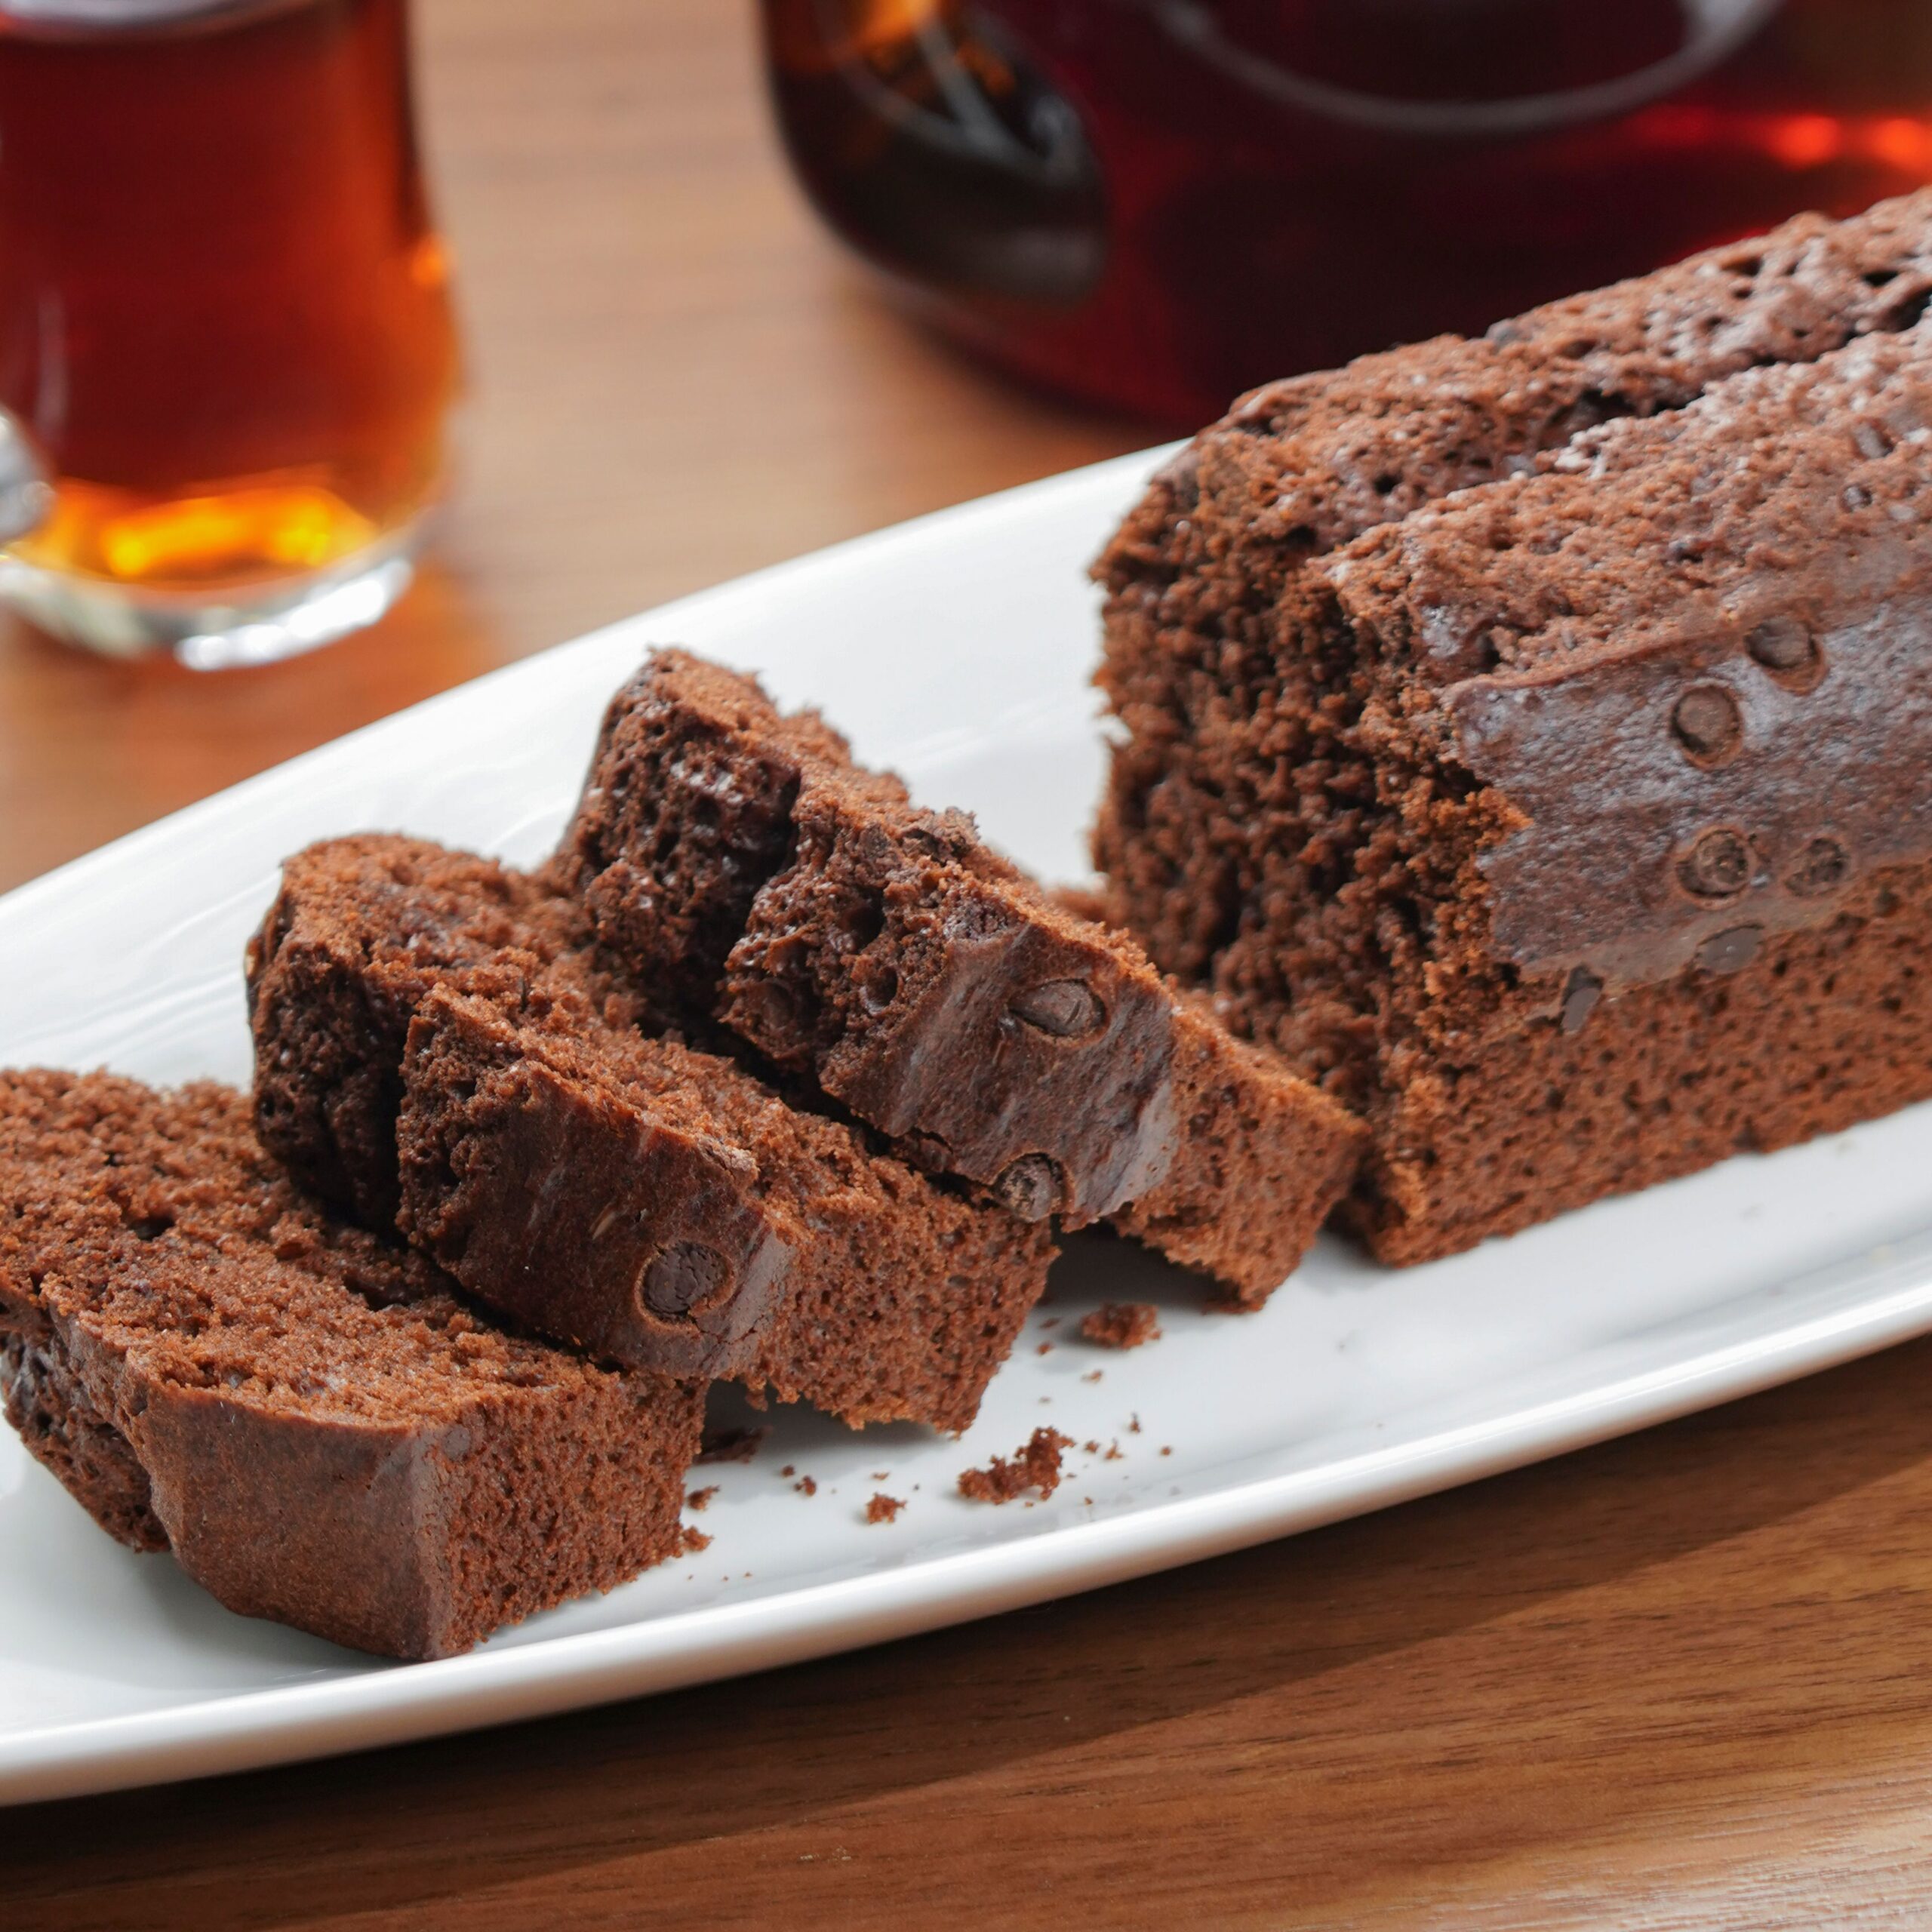
Remove the pan from the oven when a toothpick inserted near the center emerges with sticky, moist crumbs (not liquid batter). Allow the brownies to cool completely in the pan on a wire rack for 45 minutes, then refrigerate for 30 minutes before slicing. Use a warm chef’s knife, wiping the blade clean after every cut to yield distinct bakery squares.
Troubleshooting Common Brownie Failures
| Visual Problem | Root Scientific Cause | Immediate Correction |
|---|---|---|
| Cakey or Dry Texture | Too much flour scooped by volume, or baking powder was accidentally added. | Always weigh flour with a digital scale and omit all leavening agents entirely. |
| Matte, Dull Surface (No Crust) | Eggs and sugar were not beaten long enough to dissolve sucrose crystals. | Whisk the eggs and sugars until pale and frothy before adding melted chocolate. |
| Greasy or Oily Separation | Melted butter and chocolate mixture was boiling hot when mixed with cold eggs. | Ensure the melted chocolate cools to lukewarm (105°F) and eggs are room temperature. |
| Sunken, Raw Center | The oven temperature was too high, cooking edges while leaving the center raw. | Use an independent oven thermometer to ensure an accurate 350°F (175°C) environment. |
Storage, Freezing, and Reheating Science
Because these brownies feature high fat and sugar content without chemical preservatives, they maintain remarkable moisture retention when stored correctly:
- Room Temperature: Store sliced brownies in an airtight container with parchment paper between layers for up to 4 days. Avoid refrigeration after slicing, as open cold air draws out surface moisture.
- Freezer Preservation: Wrap individual uncut blocks or squares tightly in plastic wrap followed by a layer of aluminum foil. Freeze for up to 3 months. Thaw on the kitchen counter for 2 hours before serving.
- Restoring Molten Warmth: Reheat a single brownie square in the microwave for 10 to 12 seconds. This softens the cocoa butter without drying out the structural starch.
Creative Flavor Variations & Add-ins
While the classic dark chocolate profile remains unmatched, you can modify the aromatic profile without compromising the delicate fat-to-flour balance:
- Flaky Sea Salt & Espresso: Add 1/2 teaspoon of instant espresso powder to the warm butter mixture; coffee intensifies roasted cocoa notes without adding perceptible bitterness.
- Toasted Walnut or Pecan Crunch: Fold in 1/2 cup of coarsely chopped toasted nuts during Step 4 to provide textural contrast against the soft fudgy interior.
- Molten Peanut Butter Swirl: Warm 3 tablespoons of creamy peanut butter and dollop it across the top of the batter before baking; drag a butter knife lightly across the surface to create marbled ribbons.
Frequently Asked Questions (FAQ)
Can I use glass or ceramic bakeware instead of metal?
Metal bakeware (especially light-colored aluminum) is strongly recommended. Glass and ceramic are thermal insulators; they take longer to heat up and retain high heat long after leaving the oven, leading to overcooked, dry rims and underdone centers.
Why did my brownies lose their glossy top after being stored?
Brownies absorb humidity from the surrounding environment. When sealed in an airtight plastic container at room temperature, migrating moisture from the fudgy center softens the micro-crystalline sucrose layer on top. This is natural and does not harm the flavor.
Can I double this recipe for a 9×13-inch pan?
Yes. Double every ingredient precisely and use a 9×13-inch metal baking dish. Increase the total baking duration slightly to approximately 28 to 32 minutes, monitoring the center closely with a toothpick test.
Nutritional Breakdown (Per Serving)
- Servings: 9 bakery-style squares
- Calories: 255 kcal
- Total Carbohydrates: 31 g
- Dietary Fiber: 2.5 g
- Protein: 3.4 g
- Total Fat: 13.5 g
- Saturated Fat: 8.2 g
- Sodium: 145 mg