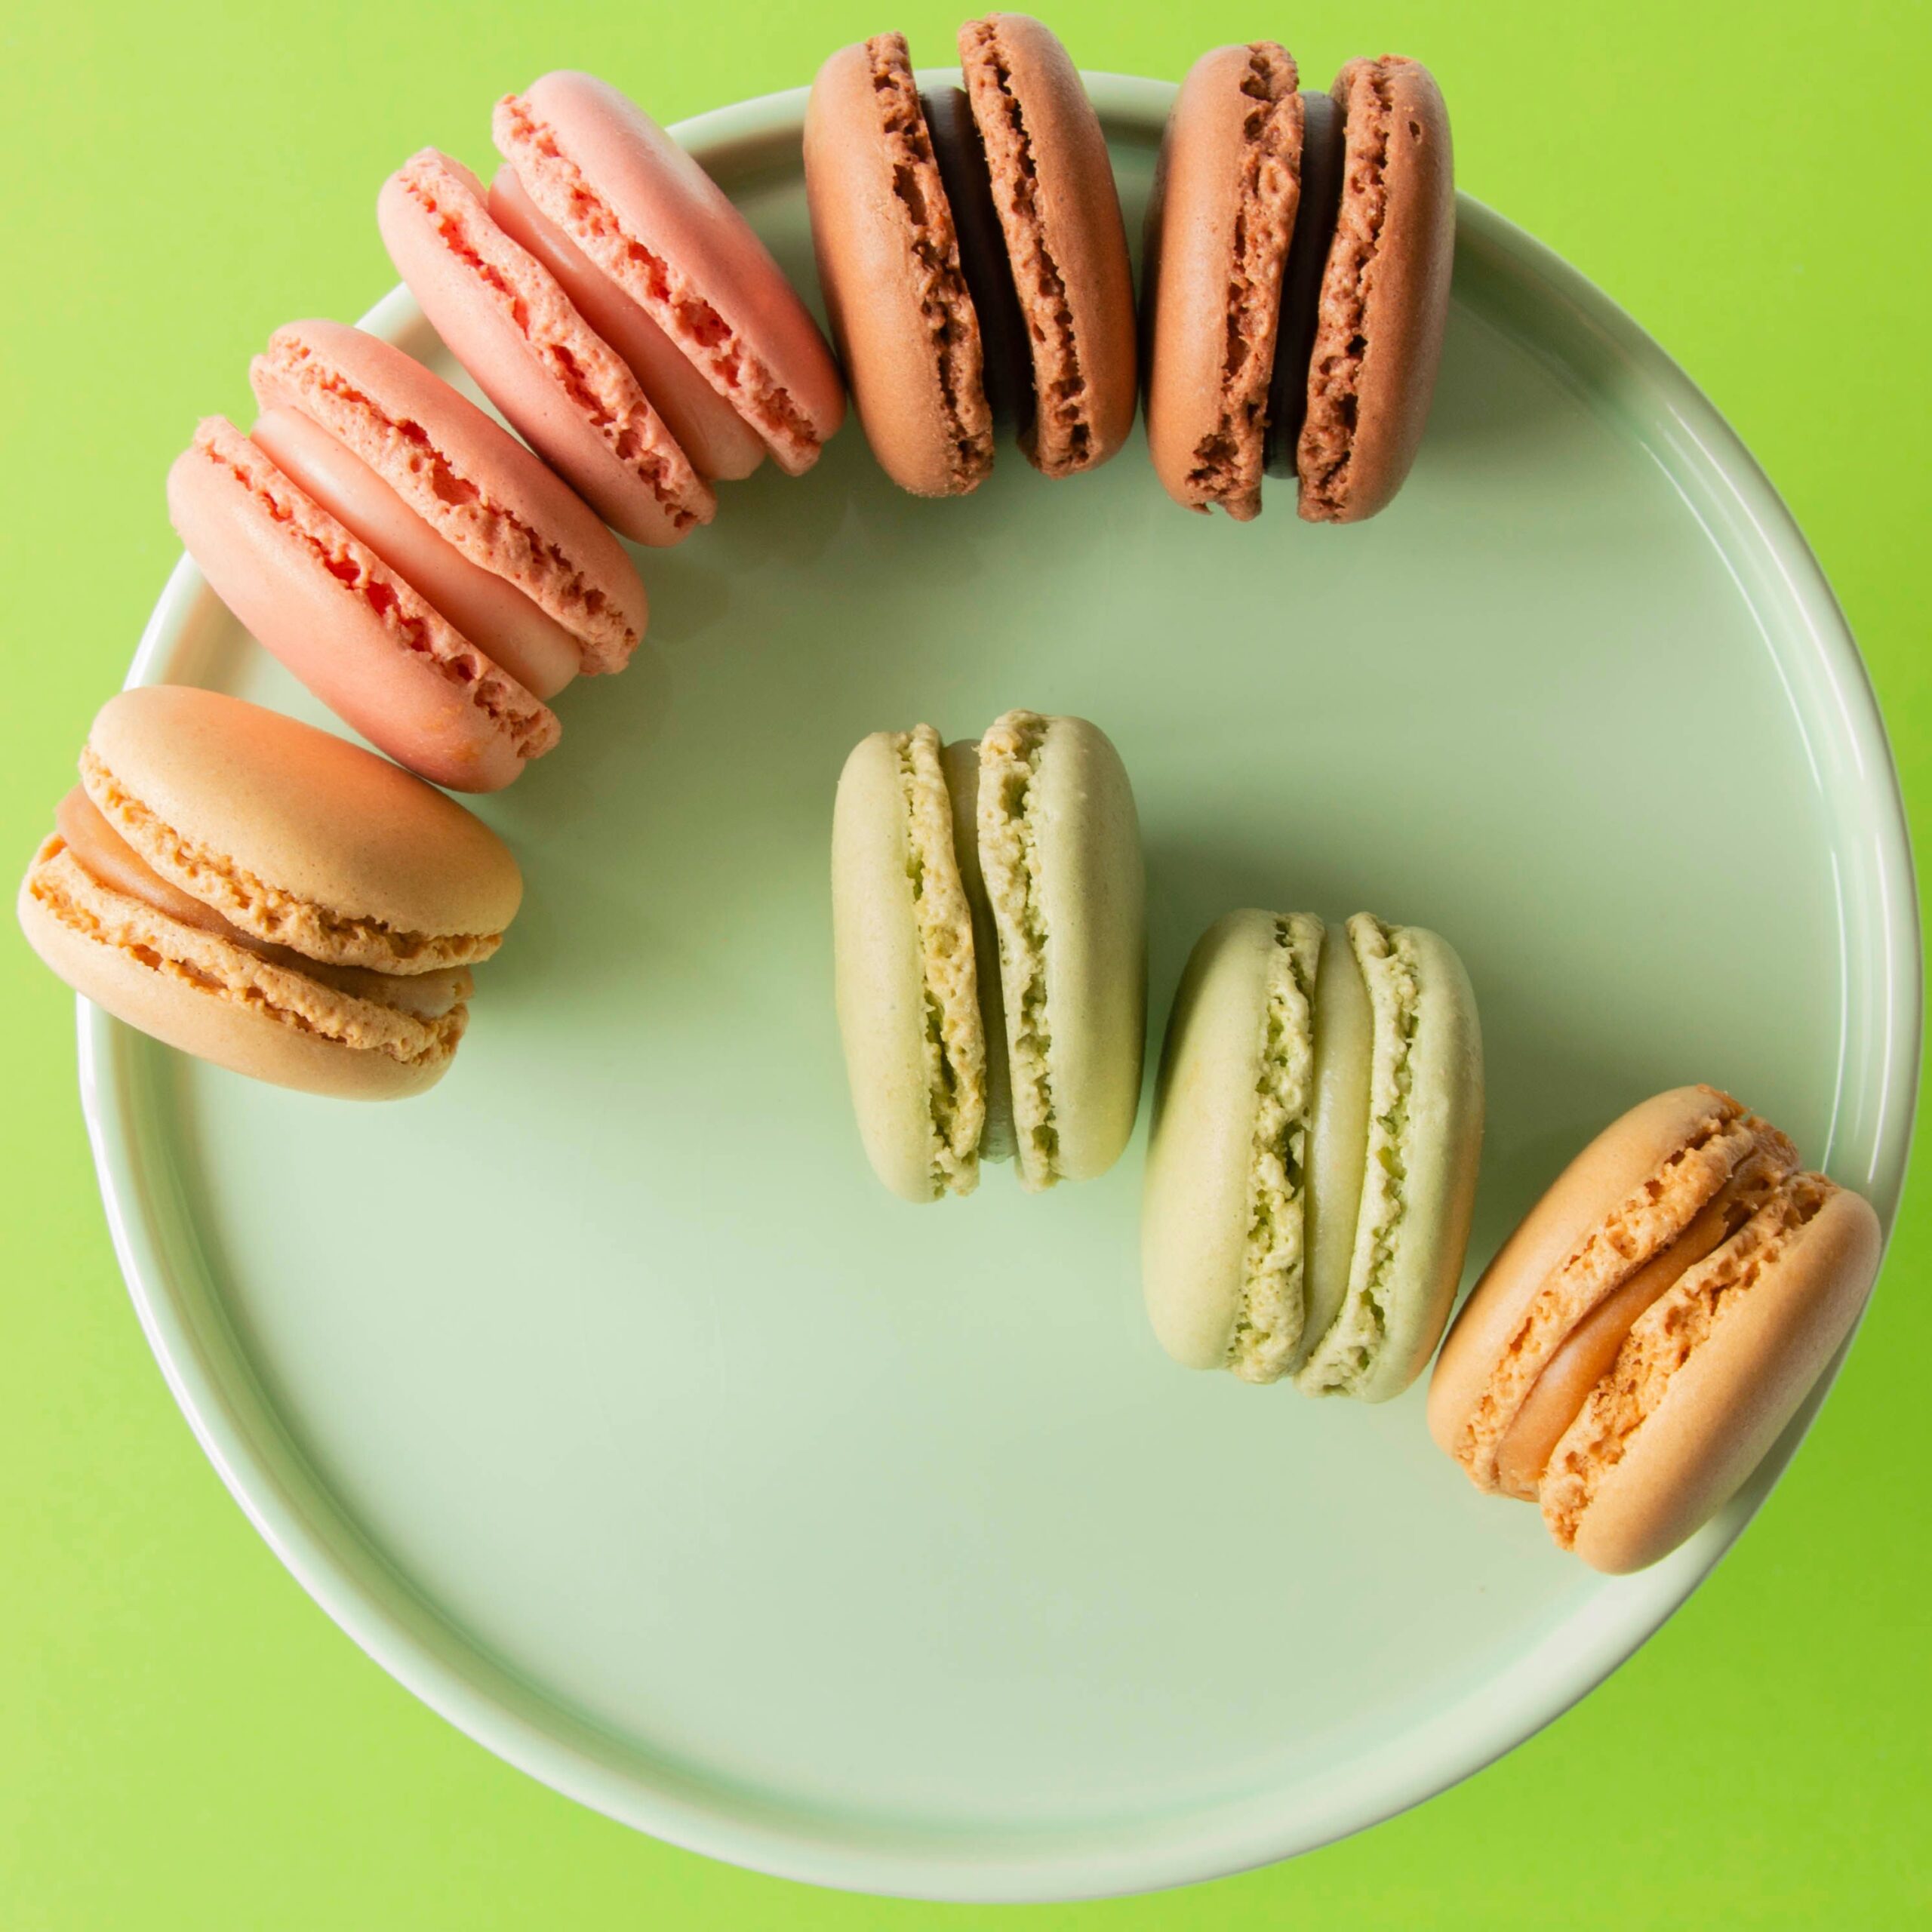
Baking authentic French macarons is universally considered the ultimate benchmark of precision in modern pastry physics. Far beyond ordinary almond cookies, the classic Parisian macaron demands a microscopic balance of egg albumen denaturation, controlled batter deflation (macaronage), ambient surface desiccation, and thermal lift to produce an eggshell-thin glossy dome, a chewy interior crumb, and the prized structural signature: a ruffled, airy base known as the pied (foot).
The Molecular Mechanics of Macaron Construction
Unlike flour-based confectioneries that rely on gluten networks or chemical leaveners, a macaron’s entire architecture is suspended on a fragile matrix of egg white foam and ground almond lipids. The transformation depends on three fundamental physical processes:
- Meringue Bubble Uniformity (The Scaffolding): Whether choosing the French or Italian method, building a stable meringue requires whipping egg white albumins to create a tight network of uniform micro-bubbles. Over-whipping introduces large, fragile air pockets that expand uncontrollably in the oven, creating massive internal cavities (hollow shells) upon cooling.
- The Macaronage Deflation Curve: Folding dry almond flour and powdered sugar into delicate meringue requires deliberate, partial mechanical deflation. Too little folding leaves excess air, causing cracked tops and uneven peaks; excessive folding shears the protein bonds entirely, yielding a runny, spread-out batter that cannot hold its shape.
- Pellicle Formation & Directed Steam Release: Resting the piped batter before baking evaporates moisture from the outer perimeter, forming a dry, non-sticky skin (pellicle). When exposed to bottom heat in the oven, expanding steam cannot escape through the hardened top; it is forced outward through the base, lifting the shell straight up and creating the characteristic ruffled foot.
Ingredients & Functional Chemistry
| Ingredient | Precise Metric Weight | Chemical & Structural Role |
|---|---|---|
| Finely Ground Almond Flour | 140g (blanched & skinless) | Delivers nutty sweetness and natural lipids (50% oil) that soften the internal crumb. |
| Confectioners’ Powdered Sugar | 130g | Absorbs almond moisture and provides ultra-fine particles that dissolve smoothly without grit. |
| Aged Egg Whites (Room Temp) | 100g (approx. 3 large eggs) | Reduced moisture content increases protein concentration for stronger bubble elasticity. |
| Fine Granulated White Sugar | 90g | Stabilizes the whipped meringue by coating egg proteins and preventing weeping. |
| Cream of Tartar (Optional) | 1/4 teaspoon (1g) | Lowers pH to tighten the protein bonds and prevent catastrophic over-whipping. |
| Gel Food Coloring | 2-3 drops (water-free) | Provides vibrant hues; liquid dyes introduce excess water that destroys the meringue matrix. |
| Fine Sea Salt | 1 pinch | Strengthens albumin elasticity and cuts the intense sweetness of pure sugar. |
Step-by-Step Culinary Protocol
Step 1: Starch-Nut Milling and De-Oiling
In a food processor, pulse the almond flour and confectioners’ sugar together for 30 seconds. Do not process continuously, as friction-generated heat releases almond oils, turning the powder into almond paste. Pass the mixture through a fine-mesh drum sieve into a wide stainless steel bowl, discarding any coarse almond bits larger than grain sand.
Step 2: Building the Elastic Meringue
Place aged room-temperature egg whites into an impeccably clean glass or copper bowl (wipe with vinegar first to remove residual traces of oil). Whisk on medium-low speed until white and frothy, then sprinkle in the cream of tartar and salt. Gradually introduce the granulated white sugar in three slow additions, increasing mixer speed to medium-high. Whip until the meringue forms glossy, firm, upright peaks that curl slightly at the very tip (stiff peak stage).
Step 3: The Precision Macaronage Phase
Sift one-third of the dry almond-sugar blend over the glossy meringue. Use a flat silicone spatula to fold the dry ingredients through the center, sweeping up around the bowl walls. Add the remaining dry mixture and any gel coloring. Now begin the macaronage: press the batter firmly against the sides of the bowl with the spatula to deflate excess air bubbles, then scrape it back into the center. Repeat this sweeping and smearing motion 15 to 20 times until the batter flows off the lifted spatula in a continuous, ribbon-like stream that slowly absorbs back into itself within 20 seconds (the “lava” stage).
Step 4: Mechanical Deposition (Piping)
Fit a large pastry bag with a clean, round 1/2-inch (12mm) tip. Fill the bag with the glossy batter. Holding the bag completely perpendicular (90 degrees) to a baking sheet lined with heavy-duty silicone baking mats or smooth parchment paper, pipe 1.5-inch (3.5cm) discs spaced 1 inch apart. Flick the wrist sharply at the end of each circle to minimize pointed tips.
Step 5: The Tray-De-Air Shock
Firmly rap the entire baking sheet flat against your kitchen counter 4 to 5 times. Rotate the tray 180 degrees and repeat. This kinetic shock drives microscopic air pockets straight up out of the batter, preventing hollow shells during the bake. If tiny bubbles remain visible on the surface, gently pop them using the sharp tip of a toothpick.
Step 6: The Desiccation Rest (Pellicle Formation)
Allow the piped shells to rest undisturbed at ambient room temperature for 30 to 45 minutes (longer in humid kitchens). Touch the surface of a macaron disc lightly with a clean, dry fingertip: if the batter adheres to your skin, it requires further drying. When a matte, touch-dry skin (pellicle) forms that resists gentle pressure, the shells are ready for the oven.
Step 7: The Thermal Rise
Preheat your oven to 300°F (150°C). Position the baking tray on the center rack. Bake for 14 to 16 minutes. Around minute 5, expanding bottom moisture should force the foot outward beneath the dry shell canopy. The macarons are fully baked when you gently touch the top dome and it does not wobble on its ruffled foot. Cool completely on the baking mat before attempting removal; pulling warm shells will leave the soft centers behind.
Troubleshooting Common Macaron Pitfalls
| Visual Defect | Underlying Biophysical Cause | Corrective Protocol |
|---|---|---|
| Cracked, Fissured Shells | Insufficient resting time; no protective surface pellicle formed before baking. | Let piped shells rest until fully dry and non-sticky to the touch before entering the oven. |
| Hollow Shell Interiors | Meringue over-whipped with massive air bubbles, or oven temperature was too high. | Whip only to firm glossy peaks and lower oven temperature by 10°F to 15°F. |
| Asymmetrical, Tilted Feet | Uneven oven airflow or the pastry bag was held at an angle during piping. | Pipe strictly at 90 degrees vertical and rotate the baking sheet halfway through baking. |
| Brown, Scorched Tops | Direct radiant heat from upper oven elements browned delicate egg proteins. | Slide an empty baking tray onto the top rack above the macarons to act as a heat shield. |
Maturation, Storage, and Flavor Infusion Protocols
Macarons are unique among confectioneries because freshly baked shells are not ready to be consumed immediately; they require a critical 24-hour maturation cycle:
- The 24-Hour Refrigerator Maturation: Once paired with filling (white chocolate ganache, fruit curd, or buttercream), store the assembled macarons in an airtight container in the refrigerator for at least 24 hours. The dry, crisp shells gradually absorb internal humidity from the filling, developing that signature melt-in-your-mouth chewy center.
- Long-Term Freezing: Maturing macarons freeze exceptionally well. Seal fully assembled macarons in an airtight box separated by parchment sheets and freeze for up to 2 months. Thaw in the refrigerator for 2 hours, then bring to room temperature 20 minutes before serving.
- Room Temperature Presentation: Never serve macarons straight from cold refrigeration; cold temperatures solidify butter and cocoa butter fillings, dulling the subtle flavor compounds.
Frequently Asked Questions (FAQ)
Why do recipes insist on aged egg whites?
Separating egg whites 24 to 48 hours in advance and storing them covered in the fridge allows a small percentage of water to evaporate naturally. This concentrates the egg albumen proteins, yielding an exceptionally stable and resilient meringue foam.
Can I substitute all-purpose flour for almond flour?
No. Almond flour contains roughly 50% healthy fats and zero gluten proteins. Wheat flour contains gluten, which develops elasticity and creates a tough, bread-like structure completely incompatible with macaron physics.
Why did my macaron shells spread into flat puddles?
This is a classic symptom of over-macaronage. When folded past the ribbon stage, the protein network breaks down completely and can no longer suspend the heavy almond solids, causing the batter to run across the tray.
Nutritional Breakdown (Per Filled Macaron)
- Servings: 18 complete sandwich macarons
- Calories: 135 kcal
- Total Carbohydrates: 16 g
- Dietary Fiber: 0.8 g
- Protein: 2.5 g
- Total Fat: 7.1 g
- Saturated Fat: 2.2 g
- Cholesterol: 8 mg
- Sodium: 25 mg