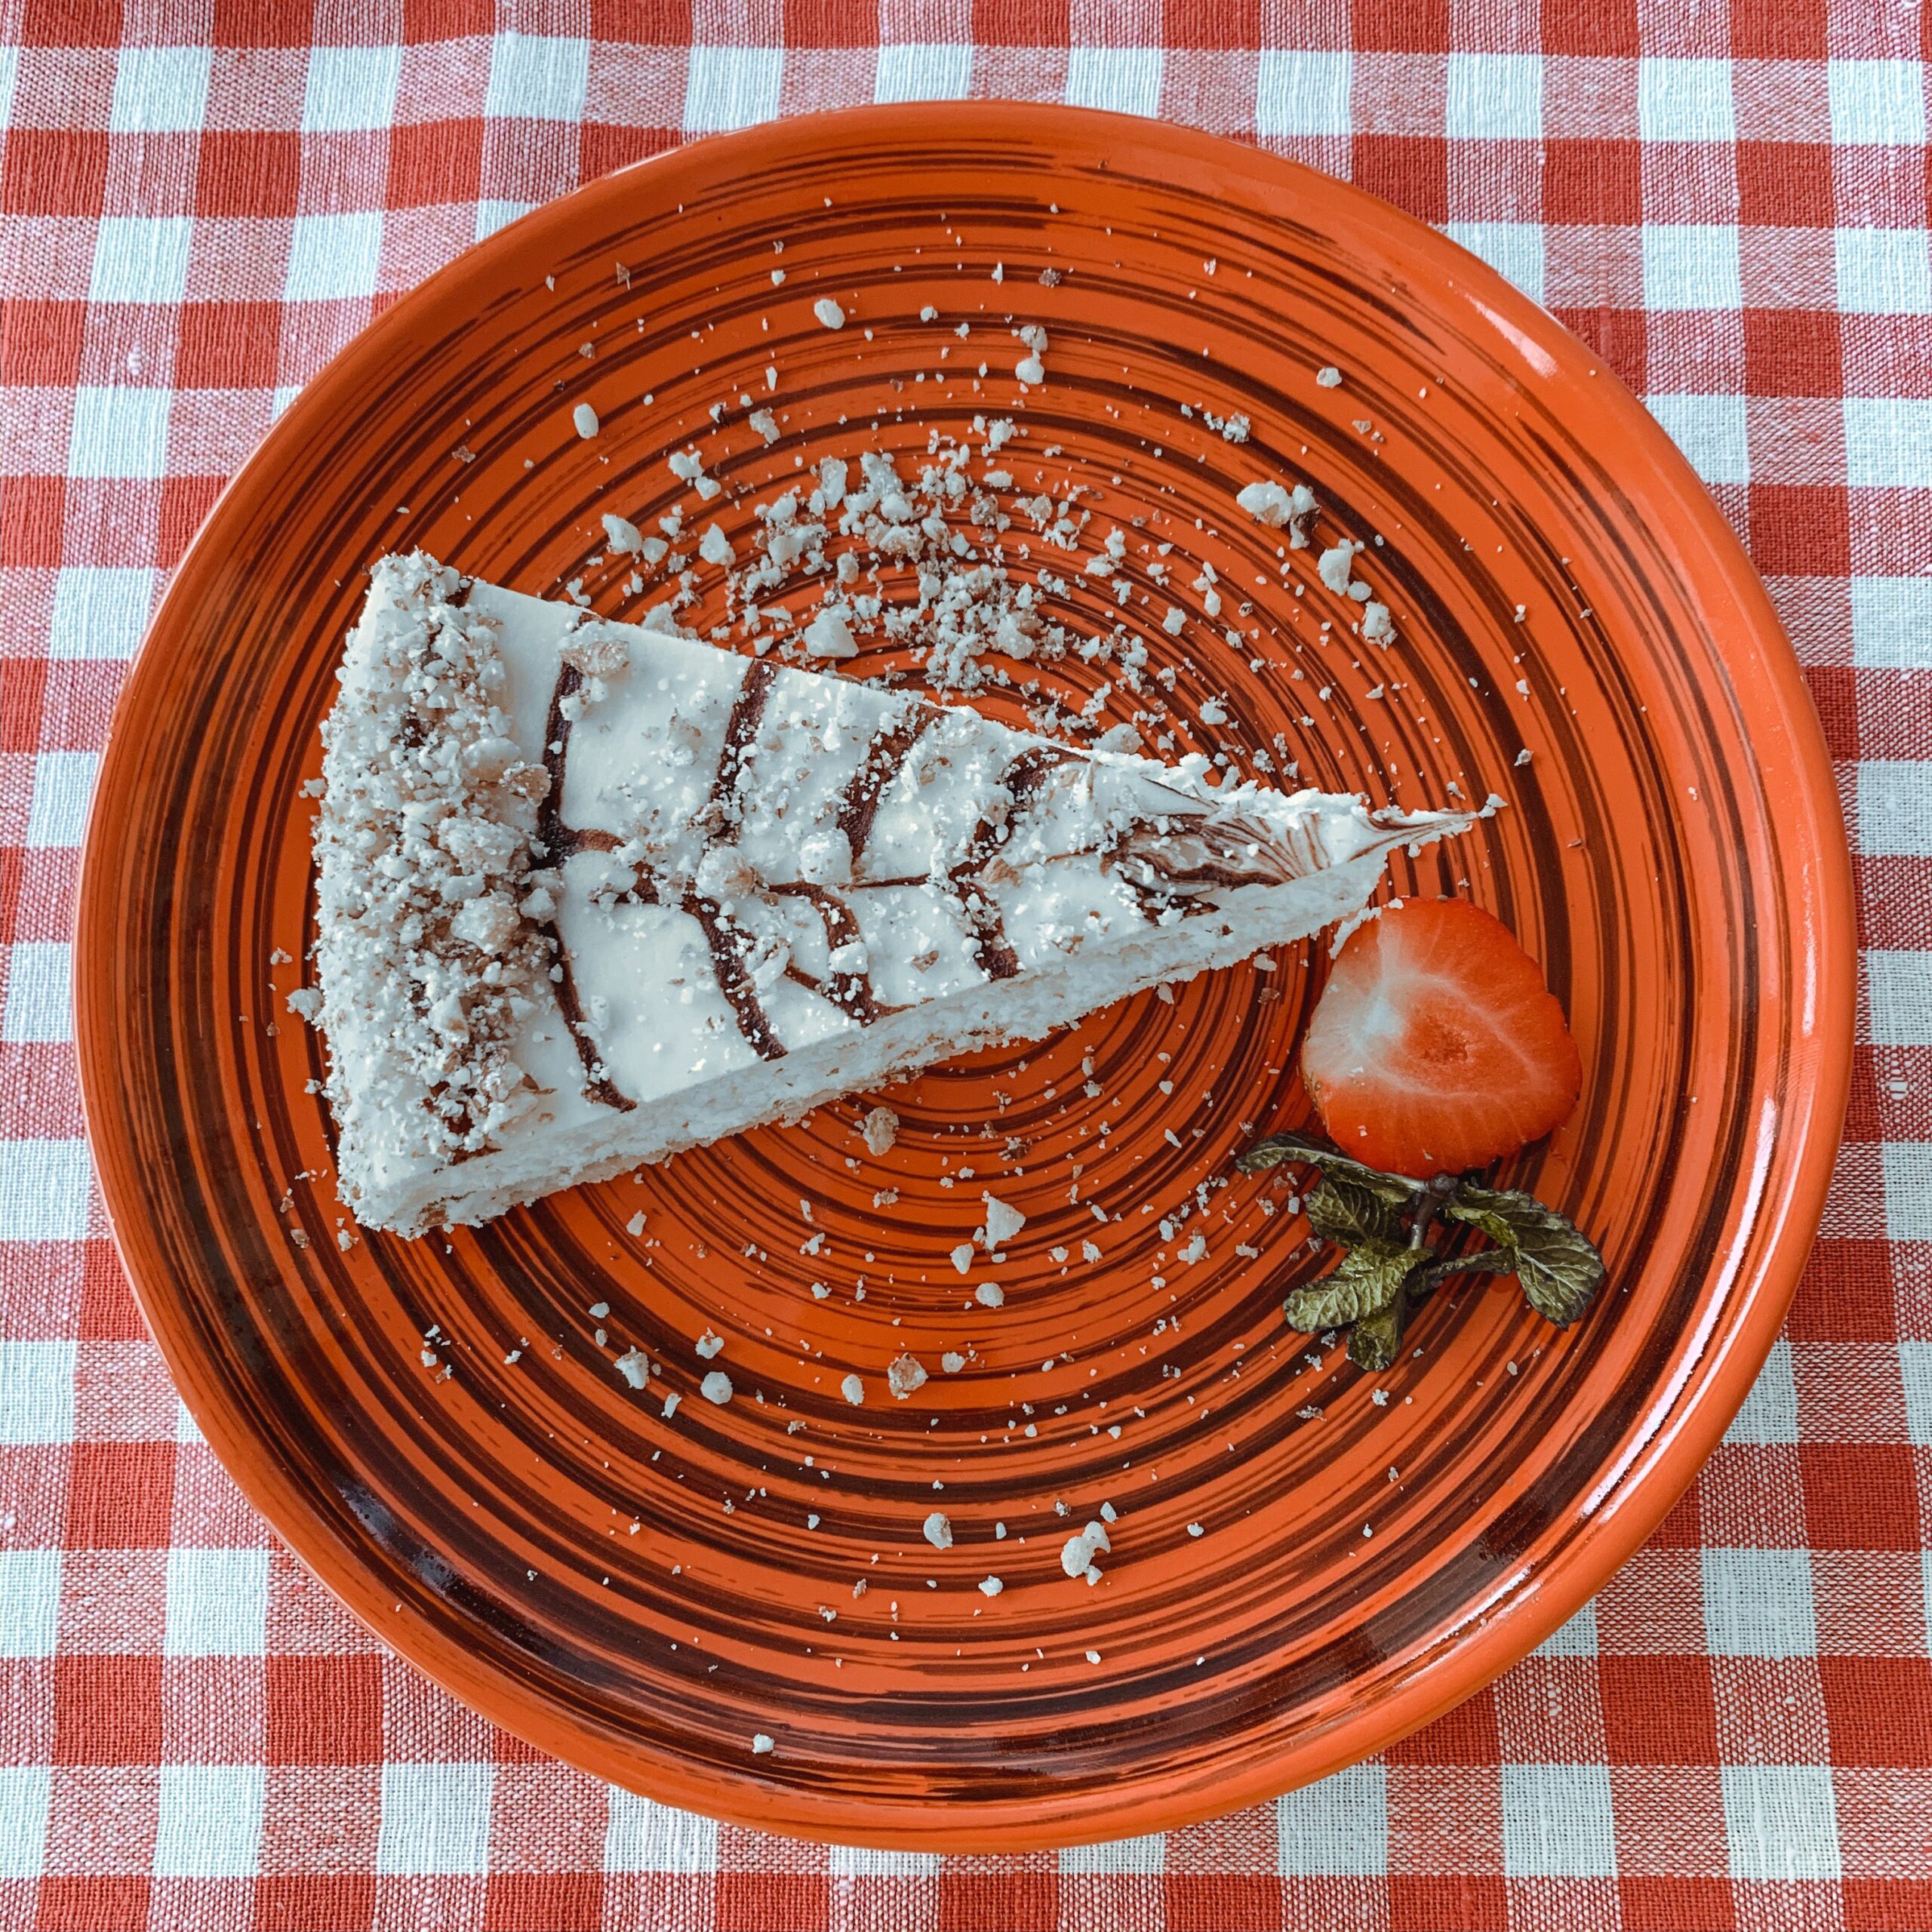
Baking an authentic New York cheesecake is widely regarded by professional pastry chefs as the definitive trial of custard thermodynamics. Moving far beyond casual gelatin-set pies, a master-grade baked cheesecake demands an exceptionally dense yet melt-in-the-mouth velvety crumb, subtle lactic tang, zero surface fissures or blistering, and a compact, toasted graham foundation that retains its crispness despite prolonged contact with rich dairy moisture.
The Culinary Physics of Custard Emulsification
From a biochemical perspective, cheesecake is not a flour-based cake; it is a heavy, acid-regulated baked custard. Achieving that signature dense, creamy suspension while entirely preventing dramatic center sinkage or surface fractures depends on three critical thermal and mechanical principles:
- Controlled Protein Denaturation: When whole eggs and yolks are heated, their coiled protein chains unfold and link into an elastic grid, trapping free water and dairy lipids. However, if this custard matrix surpasses 175°F (80°C), the egg proteins contract with extreme tension, squeezing out trapped moisture (a chemical breakdown known as syneresis) which creates gaping cracks on the surface.
- The Thermal Regulation of a Water Bath (Bain-Marie): Water cannot exceed its atmospheric boiling threshold of 212°F (100°C). By encasing the springform pan inside a steaming water bath, the harsh, direct radiant energy of the oven walls is absorbed and distributed evenly, ensuring the delicate perimeter does not overcook before the dense center sets.
- Low-Shear Air Control: Trapping excess micro-bubbles during the mixing phase is catastrophic for custards. In the oven, heated air bubbles expand rapidly, exerting upward pressure on the setting top. Once removed from heat, those inflated pockets collapse completely, pulling the cake downward and cracking the fragile surface.
Ingredients & Functional Chemistry
| Ingredient | Exact Measurement | Scientific & Functional Role |
|---|---|---|
| Full-Fat Brick Cream Cheese | 32 oz (900g), room temp (68°F / 20°C) | Provides structural dairy solids, 33% milk fat, and the core lactic acidity. Tub varieties contain excess whey water and must be avoided. |
| Granulated White Sugar | 1 cup (200g) | Sweetens the batter and delays egg protein coagulation temperatures, yielding a more tender, silken curd. |
| Full-Fat Cultured Sour Cream | 1/2 cup (120g), room temp | Supplies natural lactic acid to balance heavy fats and softens the protein web for a plush mouthfeel. |
| Large Whole Eggs | 3 large eggs (room temp) | Provide the structural albumin and yolk proteins that coagulate into a stable, sliceable custard matrix. |
| Large Egg Yolk | 1 egg yolk | Delivers concentrated lecithin, a natural emulsifier that prevents fat separation and enriches color. |
| Fresh Lemon Juice | 1 tablespoon (15ml) | Brightens the heavy dairy palate and mildly reduces pH to strengthen the delicate dairy emulsion. |
| Pure Bourbon Vanilla Extract | 1 tablespoon (15ml) | Adds aromatic vanillin compounds that harmonize lactic acidity with sweet sucrose notes. |
| Cornstarch (Optional Insurance) | 2 tablespoons (16g) | Physically separates coagulating protein strands, virtually guaranteeing the custard won’t curdle or split. |
| Honey Graham Cracker Crumbs | 1 1/2 cups (150g), finely ground | Forms a stable, toasty, mildly sweet base that acts as a structural anchor for the heavy custard layer. |
| Unsalted Melted Butter | 5 tablespoons (70g) | Moistens biscuit crumbs and acts as a binder; solidifies upon cooling to create a firm, non-crumbly base. |
| Granulated Sugar (Crust) | 2 tablespoons (25g) | Melts during par-baking to caramelize and seal the porous biscuit crumb from custard moisture. |
Step-by-Step Culinary Protocol
Step 1: The Compacted Foundation Matrix
Preheat your oven to 350°F (175°C). In a medium bowl, combine finely processed graham cracker crumbs, 2 tablespoons of sugar, and melted unsalted butter until the mixture resembles wet beach sand. Transfer to a 9-inch springform pan. Use the heavy, flat base of a stainless steel measuring cup to firmly compress the crumbs evenly across the floor and slightly up the edges. Bake for 10 minutes to melt the sugar and set the butter matrix. Cool completely on a wire rack before filling.
Step 2: Low-Velocity Lipid Shearing
Ensure your cream cheese is completely softened at room temperature. Place it into the bowl of a stand mixer fitted with the flat paddle attachment—never use the balloon whisk. Beat on lowest speed (Speed 1 or 2) for 3 full minutes. Slowly stream in the granulated sugar and continue paddling until the mixture is glossy, translucent, and completely void of dense lumps. Pause to scrape down the bottom and sides of the mixing bowl.
Step 3: Starch, Acid, and Flavor Integration
Sift the cornstarch directly over the glossy cream cheese base. Add the full-fat sour cream, fresh lemon juice, and pure bourbon vanilla extract. Run the paddle mixer on low speed for approximately 60 seconds just until the mixture is uniform. Overworking the batter at this stage breaks down dairy fat stability.
Step 4: Incorporating Eggs Without Aeration
With the mixer running at minimal speed, add the room-temperature whole eggs and the extra egg yolk one at a time. Allow each egg to be completely absorbed by the emulsion before introducing the next. Once the final yolk is incorporated, immediately switch off the machine. Finish with two gentle manual folds using a wide silicone spatula, ensuring no dense, unblended cream cheese pockets lurk at the bowl base.
Step 5: Springform Pan Waterproofing and Water Bath Setup
Because springform pans are two-piece units designed to release, they are inherently prone to water leakage. Tightly wrap the exterior bottom and sides of your pan with two layers of heavy-duty aluminum foil, crimping securely around the upper rim. Place the wrapped pan inside a high-sided roasting pan. Pour the velvety batter over your cooled crust, gently tapping the pan against your counter twice to release any trapped micro-air bubbles.
Step 6: The Indirect Heat Bake
Transfer the nested roasting pan onto the middle oven rack. Pour hot, steaming water into the outer roasting tray until it reaches halfway up the height of your springform pan walls. Reduce oven temperature to 325°F (160°C). Bake undisturbed for 60 to 70 minutes. The cheesecake is ready when the outer 2-inch border is softly puffed and firm, but the interior 2-inch center circle still exhibits a gentle, gelatinous wobble when the pan is nudged.
Step 7: The Gradual Thermal Descent
Turn the oven completely off. Prop the oven door open approximately 2 inches using the wooden handle of a spatula or spoon. Allow the cheesecake to rest undisturbed inside the cooling oven for 60 minutes. This slow decline allows coagulated proteins to gently contract without developing structural tension cracks across the delicate surface.
Step 8: Deep Cold Maturation and Precision Slicing
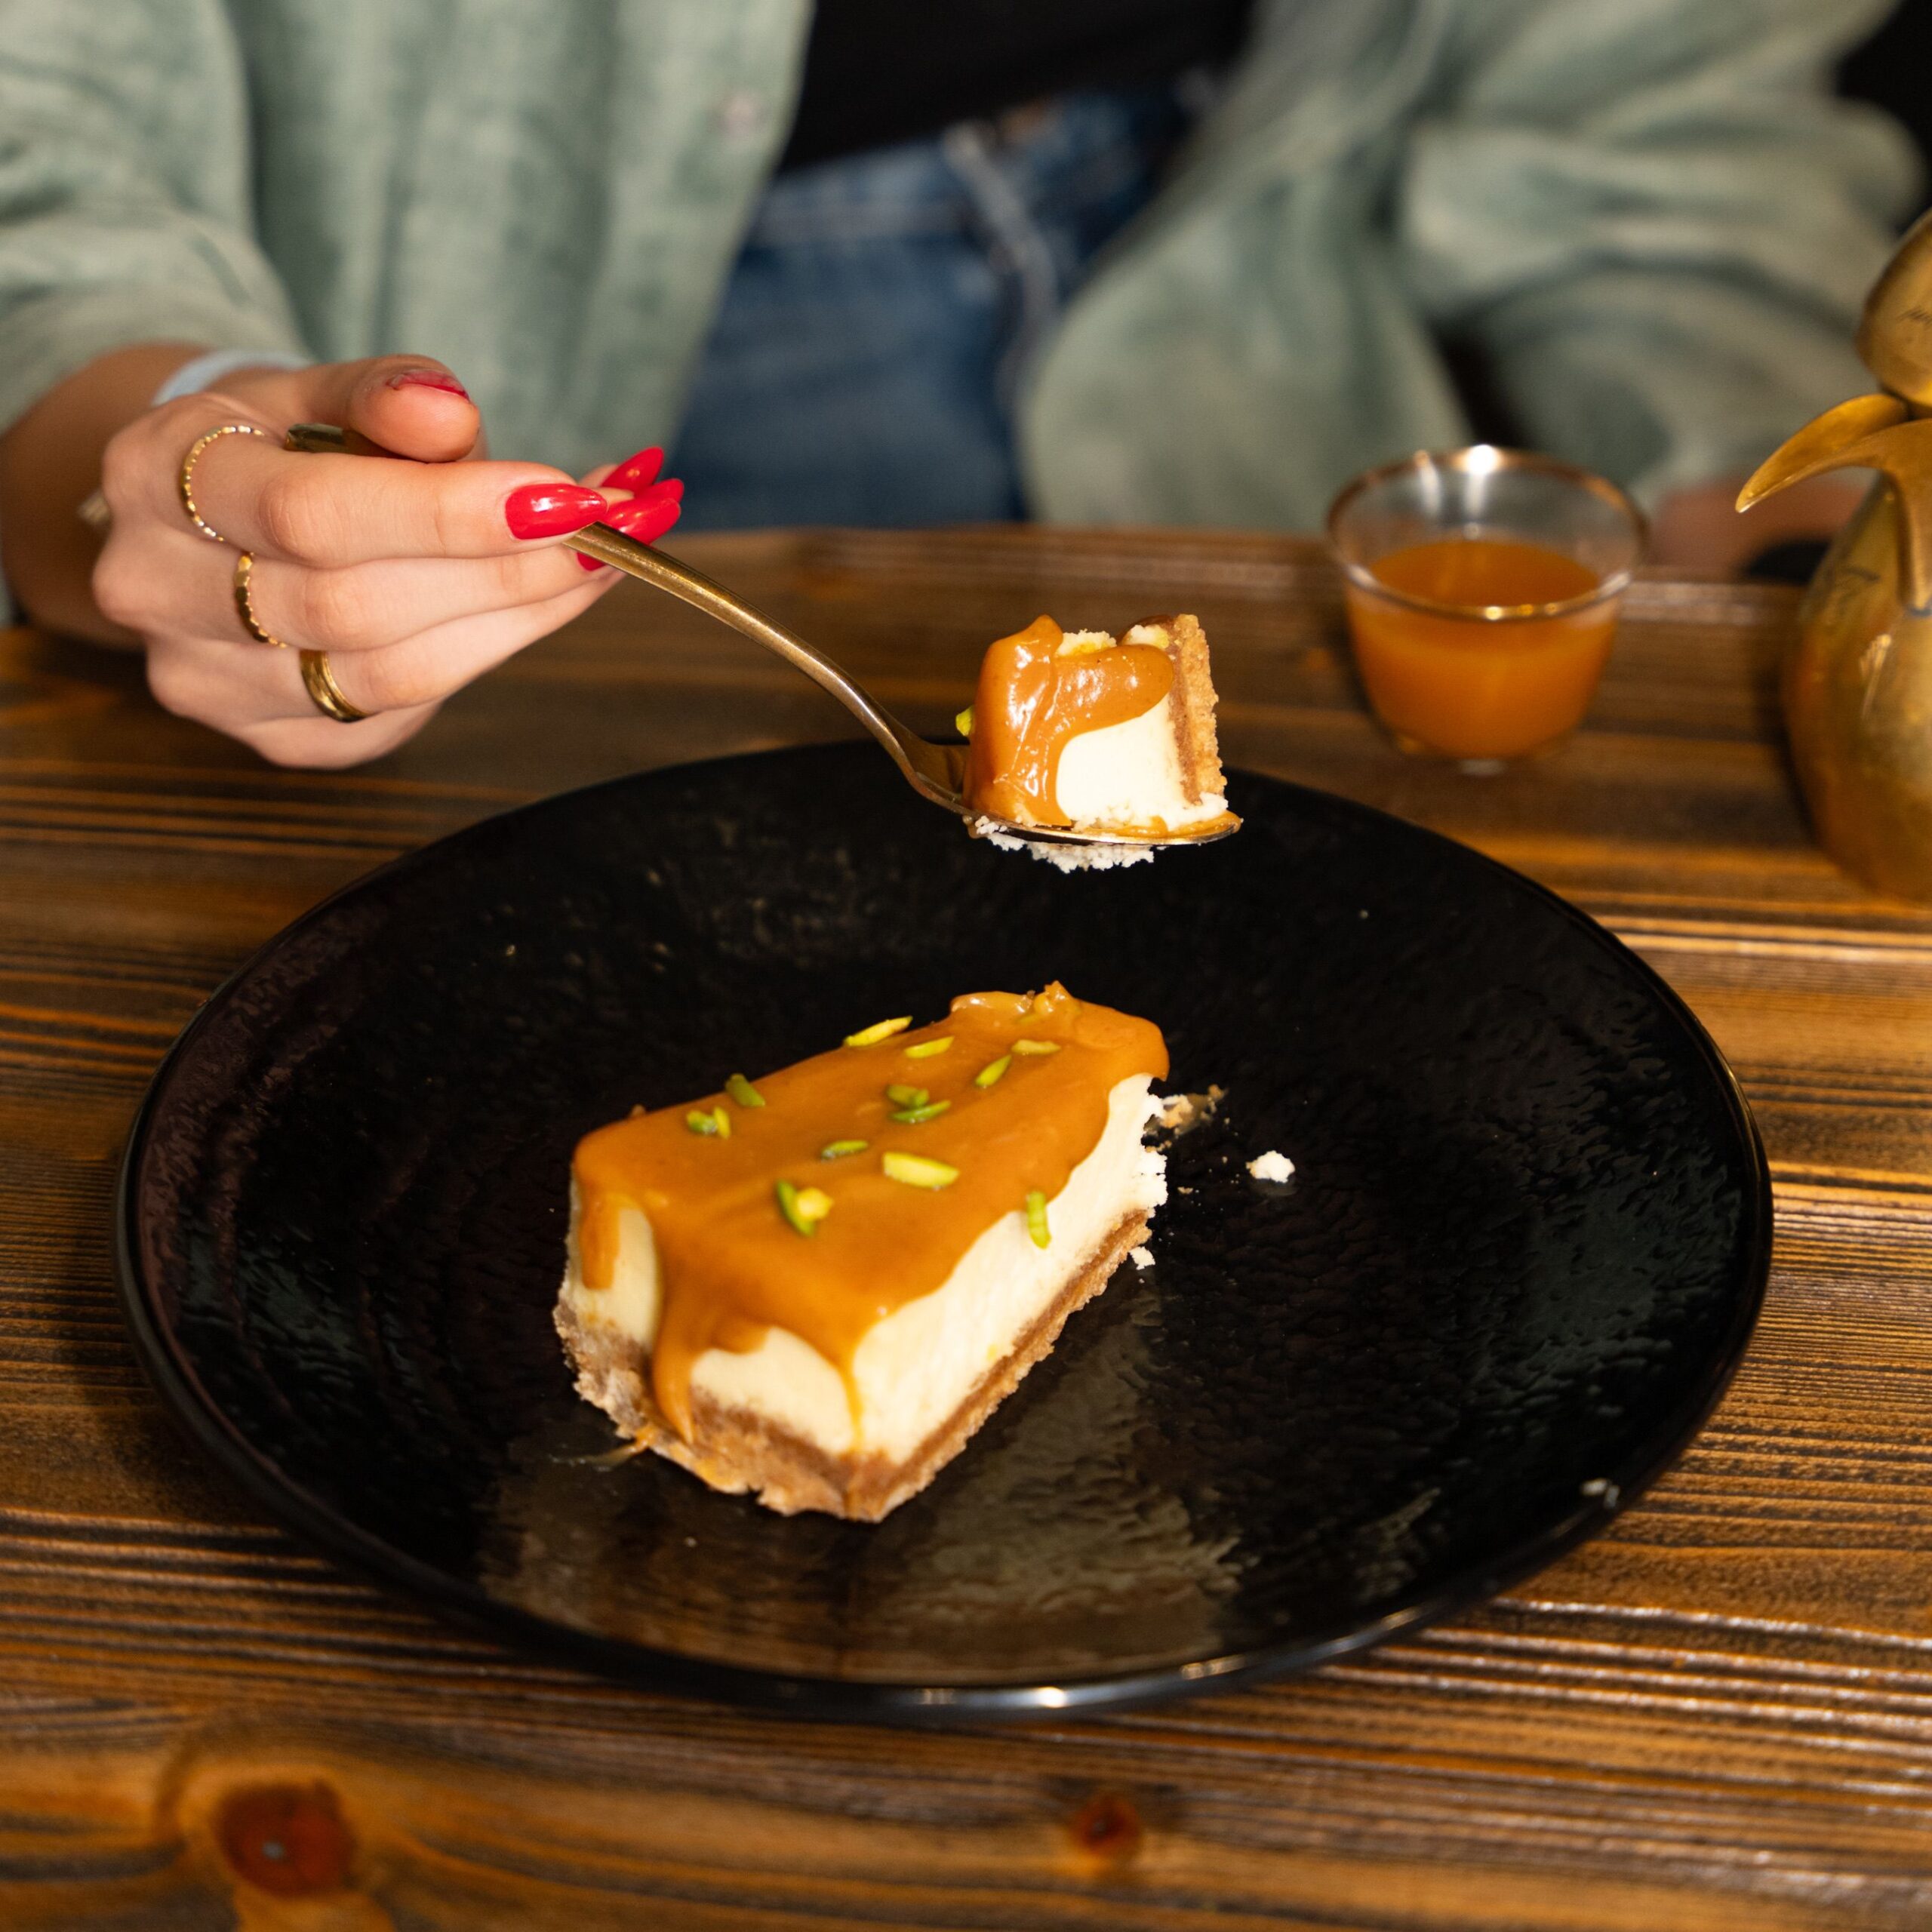
Remove the pan from the water bath, strip away the outer foil, and gently slide a thin paring knife around the inside rim of the pan to release any edges adhering to the metal. Let the cheesecake cool to ambient temperature, then refrigerate uncovered for at least 8 to 12 hours. Cold resting solidifies the milk fats and finishes setting the texture. When ready to serve, release the springform collar. Wipe a long chef’s knife with hot water and dry thoroughly between every individual slice for pristine bakery edges.
Troubleshooting Common Cheesecake Disasters
| Visual Problem | Root Scientific Cause | Corrective Protocol |
|---|---|---|
| Deep Fissures Across Surface | Sudden temperature drop or excessive protein coagulation past 175°F (80°C). | Always use a steaming bain-marie and cool the cake gradually inside the turned-off oven for 1 hour. |
| Gritty, Lumpy Mouthfeel | Cold cream cheese was beaten, preventing smooth fat dispersion. | Bring cream cheese, eggs, and sour cream completely to room temperature (68°F / 20°C) before mixing. |
| Soggy, Waterlogged Crust | Springform seal failed, allowing bath water to penetrate the aluminum foil wrap. | Use double layers of 18-inch heavy-duty foil, or encase the pan in a heat-safe silicone baking guard. |
| Sunken Center Crater | Excess air whipped into the batter using a balloon whisk or high speed. | Use exclusively a flat paddle attachment on the lowest speed setting to avoid folding in micro-air pockets. |
Storage, Maturation, and Freezing Protocols
Due to its high density, stable butterfat content, and deliberate sugar crystallization, a classic New York cheesecake matures and actually improves in both texture and complexity over time:
- Refrigerator Longevity: Store the cheesecake securely in a dedicated domed cake carrier or loosely wrapped with plastic wrap for up to 6 days. The lactic acidity acts as a natural preservation agent against staling.
- Deep Freezing Integrity: Cheesecake freezes remarkably well. Chill the cake completely, slice it into individual portions, wrap each slice tightly in two layers of plastic wrap, and finish with a layer of aluminum foil. Freeze for up to 3 months.
- Controlled Thawing: Thaw frozen slices in the refrigerator for 6 to 8 hours before consuming. Never microwave or room-temperature-shock frozen cheesecake, as sudden lipid warming will compromise the silky custard integrity.
Gourmet Flavor Pairings & Garnishing Science
While purists appreciate the unadorned, rich dairy profile of a New York slice, complementary aromatic toppings can cut through the dense fat profile:
- Macerated Tart Berry Coulis: Simmer fresh raspberries or sour cherries with a touch of lemon zest and cornstarch. The sharp fruit acids cut through the rich butterfat on the palate.
- Salted Bourbon Caramel Drizzle: A warm, amber caramel with flaky sea salt enhances the toasted notes within the par-baked graham cracker crust.
- Chantilly Cream with Fresh Mint: Heavy whipping cream beaten with a whisper of powdered sugar offers an airy, textural contrast against the dense custard crumb.
Frequently Asked Questions (FAQ)
Can I make New York cheesecake without a water bath?
Technically yes, but the risk of surface cracks and dry, rubbery edges rises by over 70%. If you cannot accommodate a water bath, place a roasting pan filled with boiling water on the rack directly below your cheesecake to create a humid baking chamber.
Why do recipes specify full-fat cream cheese bricks?
Tub cream cheeses contain added water, gums, and stabilizers engineered to make the cheese spreadable straight from the fridge. In a baked custard, that excess water thins the matrix, leading to a runny center and uneven baking.
How do I know the cheesecake is done without using a toothpick?
Never insert a toothpick or knife into a baking cheesecake, as puncturing the delicate surface initiates a tear that spreads into a crack. Instead, rely on the “jiggle test”: gently nudge the pan; only a small 2-inch circle in the exact center should gently wobble like set gelatin.
Nutritional Analysis (Per Slice)
- Servings: 12 thick bakery-style slices
- Calories: 425 kcal
- Total Carbohydrates: 34 g
- Dietary Fiber: 1.1 g
- Protein: 7.2 g
- Total Fat: 29.5 g
- Saturated Fat: 17.8 g
- Cholesterol: 145 mg
- Sodium: 330 mg